Blog
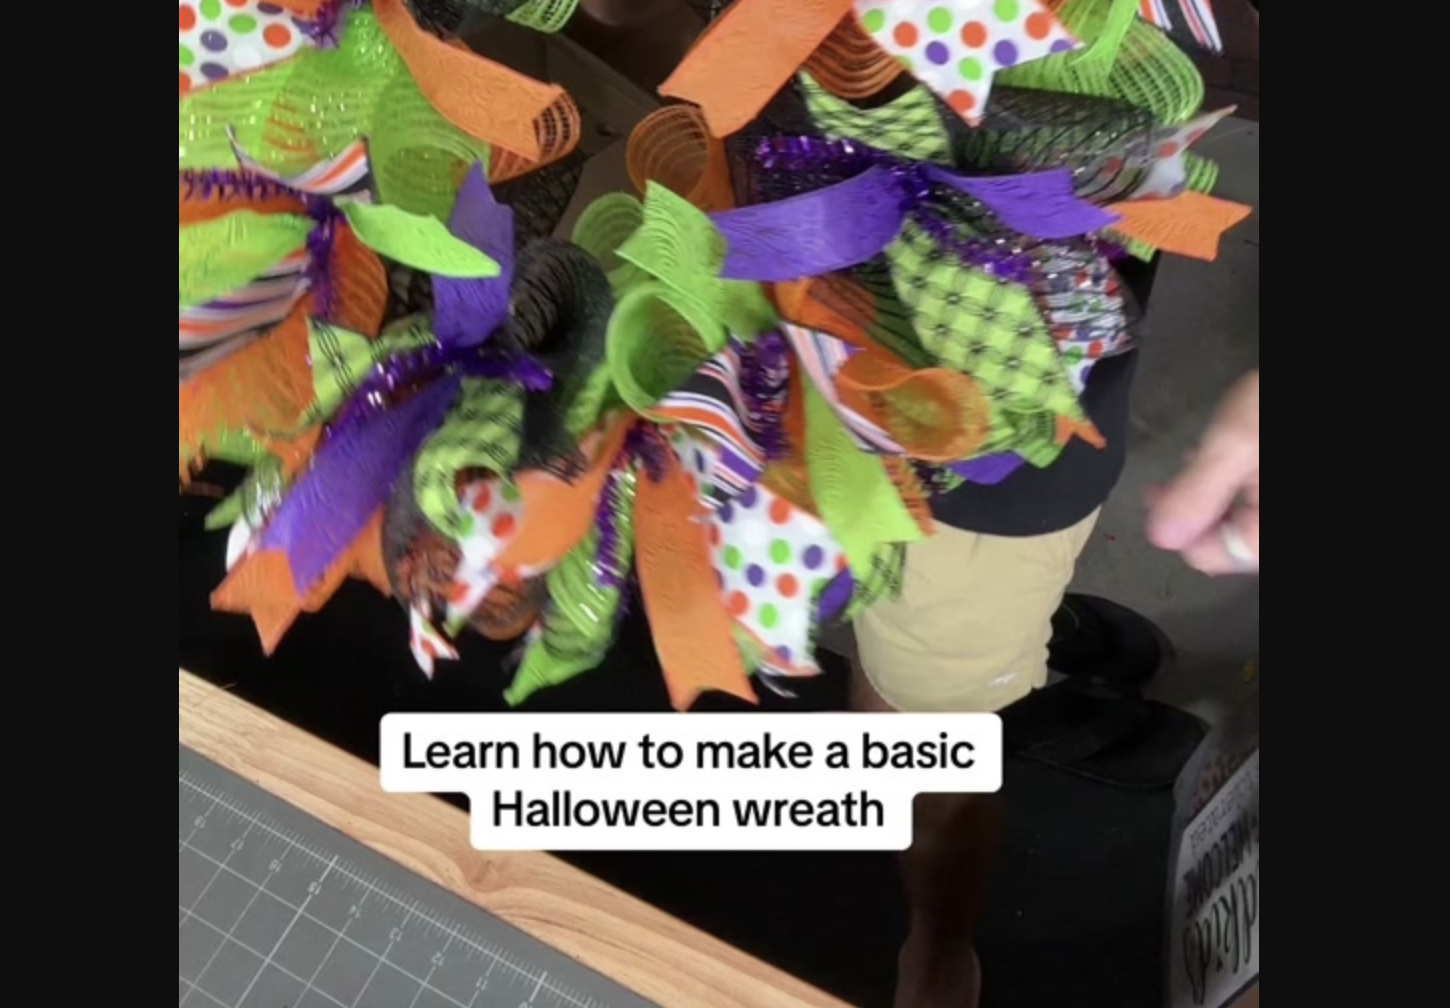
DIY Halloween Mesh Wreath: A Step-by-Step Guide to Crafting a Spooky Ring
Oct
Welcome to a fun and creative way to bring some Halloween spirit to your home—by crafting your very own Halloween mesh wreath! This cute and easy DIY project is perfect for decorating your door or home, and with just a few supplies, you’ll be making a festive wreath in no time. So, grab your materials, and let’s get started!
Materials You’ll Need:
- 18 pieces of mesh (each cut to 23 inches in length)
- 18 pieces of ribbon (each cut to 12 inches)
- Wire wreath frame
- Twist ties or pipe cleaners to secure the mesh and ribbons
- Scissors
@decoexchange Learn how to make a basic Halloween deco mesh wreath with me! #wreathmaker #halloween #diyproject #wreathmaking #halloweenishere #halloweenlook #halloweendiy #diywreathmaking #decoexchange ♬ original sound – DecoExchange
Step 1: Prepare Your Mesh and Ribbon
To get started, we’ll cut our materials:
- Mesh: Cut 18 pieces of mesh at 23 inches long. You can choose three different colors of mesh to give your wreath a fun, festive look—mixing and matching orange, black, and purple mesh is perfect for Halloween!
- Ribbon: Cut 18 pieces of ribbon at 12 inches long. You can use a combination of Halloween-themed ribbons—think spooky prints, pumpkins, or bats!
Once your mesh and ribbon are cut, set the ribbon aside for later.
Step 2: Add the Mesh to the Wreath Frame
Now, let’s move on to the wreath frame. For this project, I’m using a basic wire frame, but you can find these in any craft store.
- Grab your first piece of mesh (it doesn’t matter which color). Lay it flat on your workspace.
- Curl each end of the mesh inward just a bit. This step helps hide the cut edges, preventing the mesh from fraying.
- Ruffle the mesh down the middle, gathering it like an accordion until you have a nice bunch in the center.
- Once your mesh is ruffled, secure it to the wreath frame using a twist tie or pipe cleaner. Twist it tight to make sure the mesh stays in place.
- Alternate the colors of your mesh as you work your way around the wreath frame, adding one piece at a time.
Continue adding mesh all around the frame, until the entire wreath is full and fluffy!
Step 3: Add Your Ribbon Tails
Now that your mesh is in place, it’s time to add the ribbon for that final, festive touch.
- Layer two pieces of ribbon on top of each other. This adds dimension and makes the colors pop.
- Fold the ribbons in half, pinch them at the center, and form a little bundle. This creates that “ribbon tail” effect.
- Find the twist tie where you secured the mesh earlier, and instead of undoing it, just tuck the ribbon tail right into the twist tie.
- Tighten the twist tie around the ribbon to hold it in place.
- Fluff out your ribbon tails to create a nice X-shape. This way, all the ribbon is visible and spread out evenly.
Step 4: Finish and Fluff
Once you’ve added all your ribbon tails, take a moment to look over your wreath. Fluff out the mesh and ribbon, making sure everything looks even and that the colors are well-distributed.
Step 5: Display Your Halloween Wreath
Congratulations! You’ve just made a super cute and festive Halloween mesh wreath. Hang it on your front door, or use it as a centerpiece in your home to add a spooky touch to your Halloween décor.
Be sure to like, share, and follow for more fun DIY holiday projects. Happy Halloween crafting! ?
Hey, come hang out with me for a few minutes and learn how to make this really cute Halloween ring. In 18 pieces of mesh. At 23 inches, we’re gonna need 18 half inch pieces. Ribbon at 12 inches and 18 two and a/2 inch ribbons at 12 inches. We can move our ribbon off to the side where you get our frame out. Grab our mesh. I like to use three different colors just to get a nice variety. Just grab one, doesn’t matter which one. Remember, they are cut at 23 inches. We’re gonna curl each end up just a little bit and then we’re gonna ruffle it down the middle. That curl in the beginning helps hide that cut edge so it doesn’t fray. And then we’re just going to add one of these to the twist all the way around the frame. And we’re just gonna alternate our colors. We’re gonna just start right where we stopped and continue around with our ruffles. Alright. Now that you got your mesh all the way on and all the way around, we’re going to go back to those original twist ties and we’re gonna start adding our ribbon tails. Alright, so we just layer them right on top of each other. We’re gonna fold them right in half, give them a good pinch, pinch them down the middle. Then we’re gonna find the twist tie we wanna put it in. We don’t have to open it. We’re just gonna set It right inside there. And then tighten it around as tight as you can. Just like that. And then spread out your ribbon tails. Alright? Fold them in half. Give them a good pinch at the top. I like to make it into a nice X. That way all of your ribbon is good and visible. All right. After all your ribbon tiles are on, you can always come back through. And that’s it. You’ve made yourself a Halloween ring.