No products in the cart.
Return to shop
Showing 1–8 of 127833 results
Officials Candace Parker X Los Angeles Sparks 3 Time Wnba Champions Thank You For The Moment T Shirt Sweatshirt
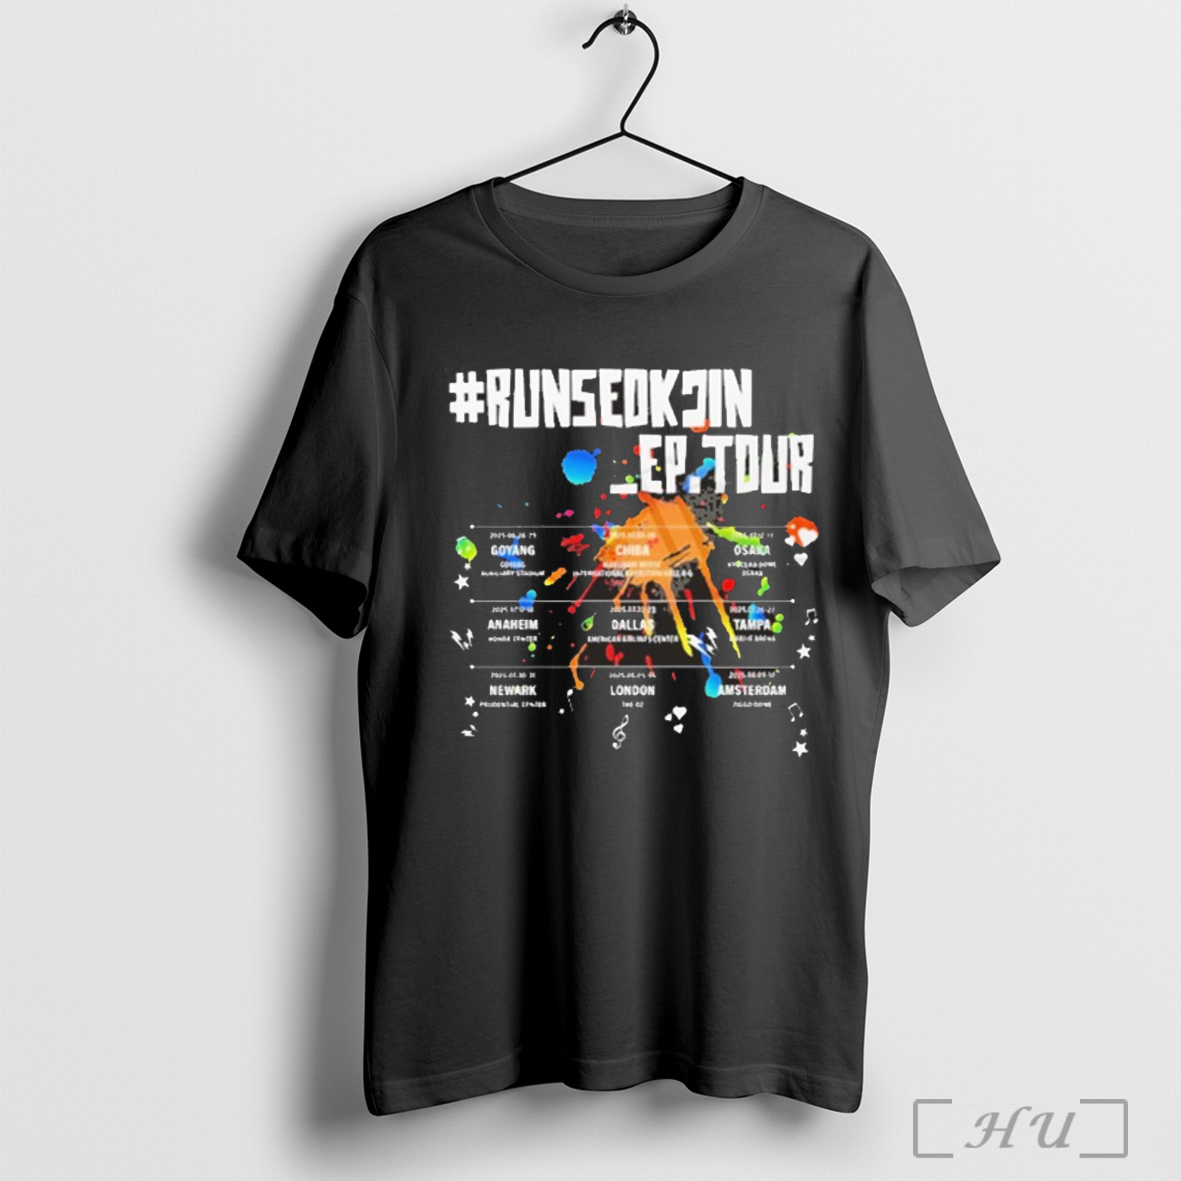
Jin Tour X Dallas Mavericks Runseokjin Ep Tour 2025 T Shirt Sweatshirt
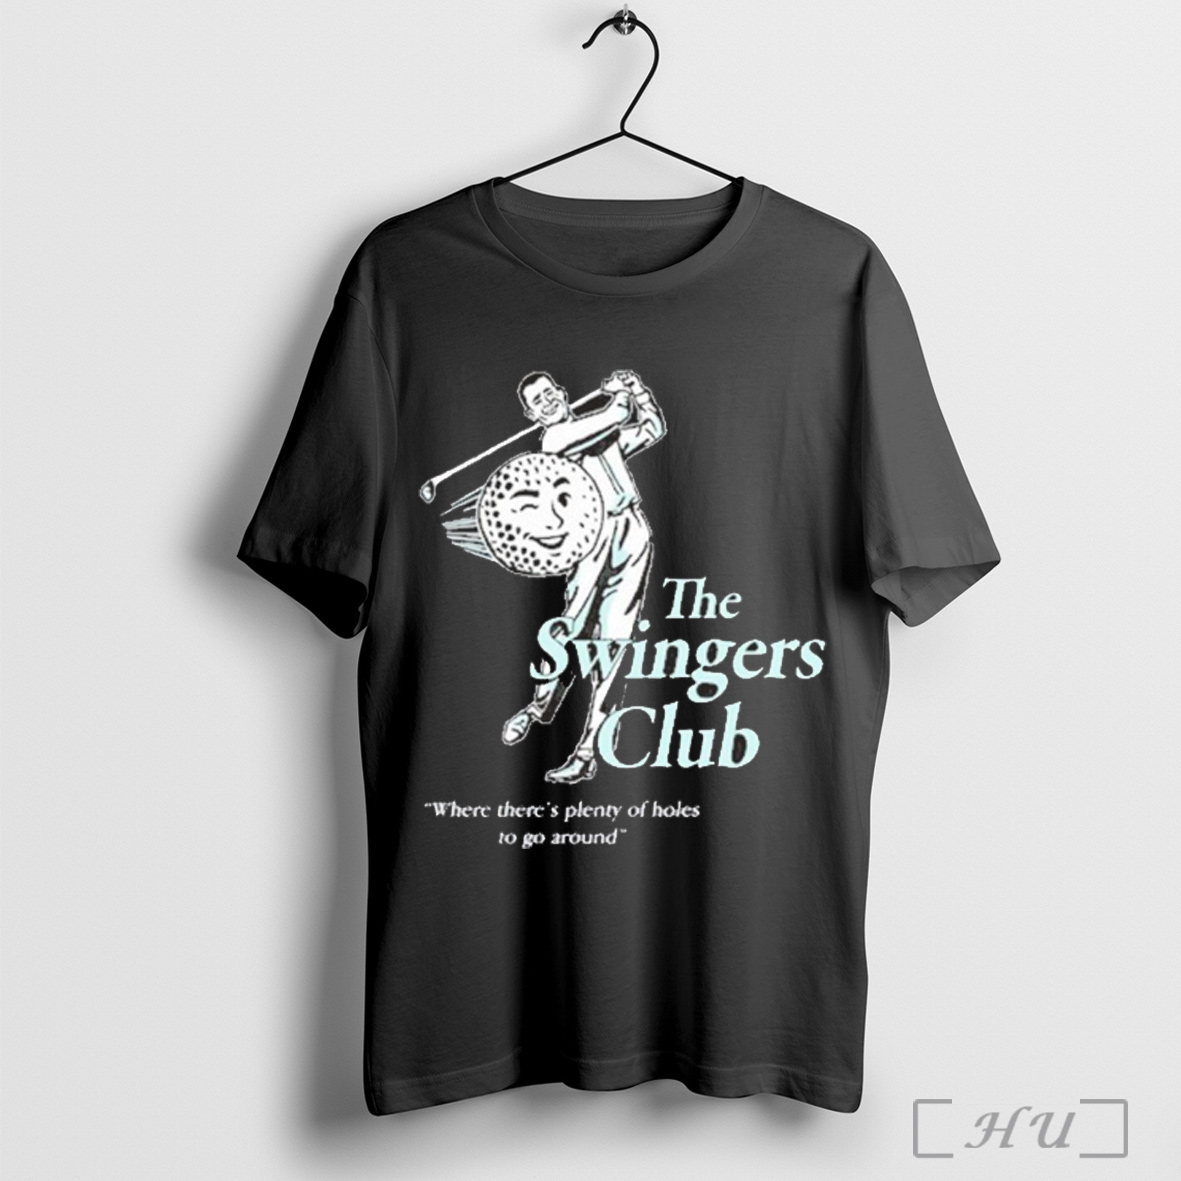
Officials The Swingers Club Where Theres Plenty Of Holes To Go Around T Shirt Sweatshirt
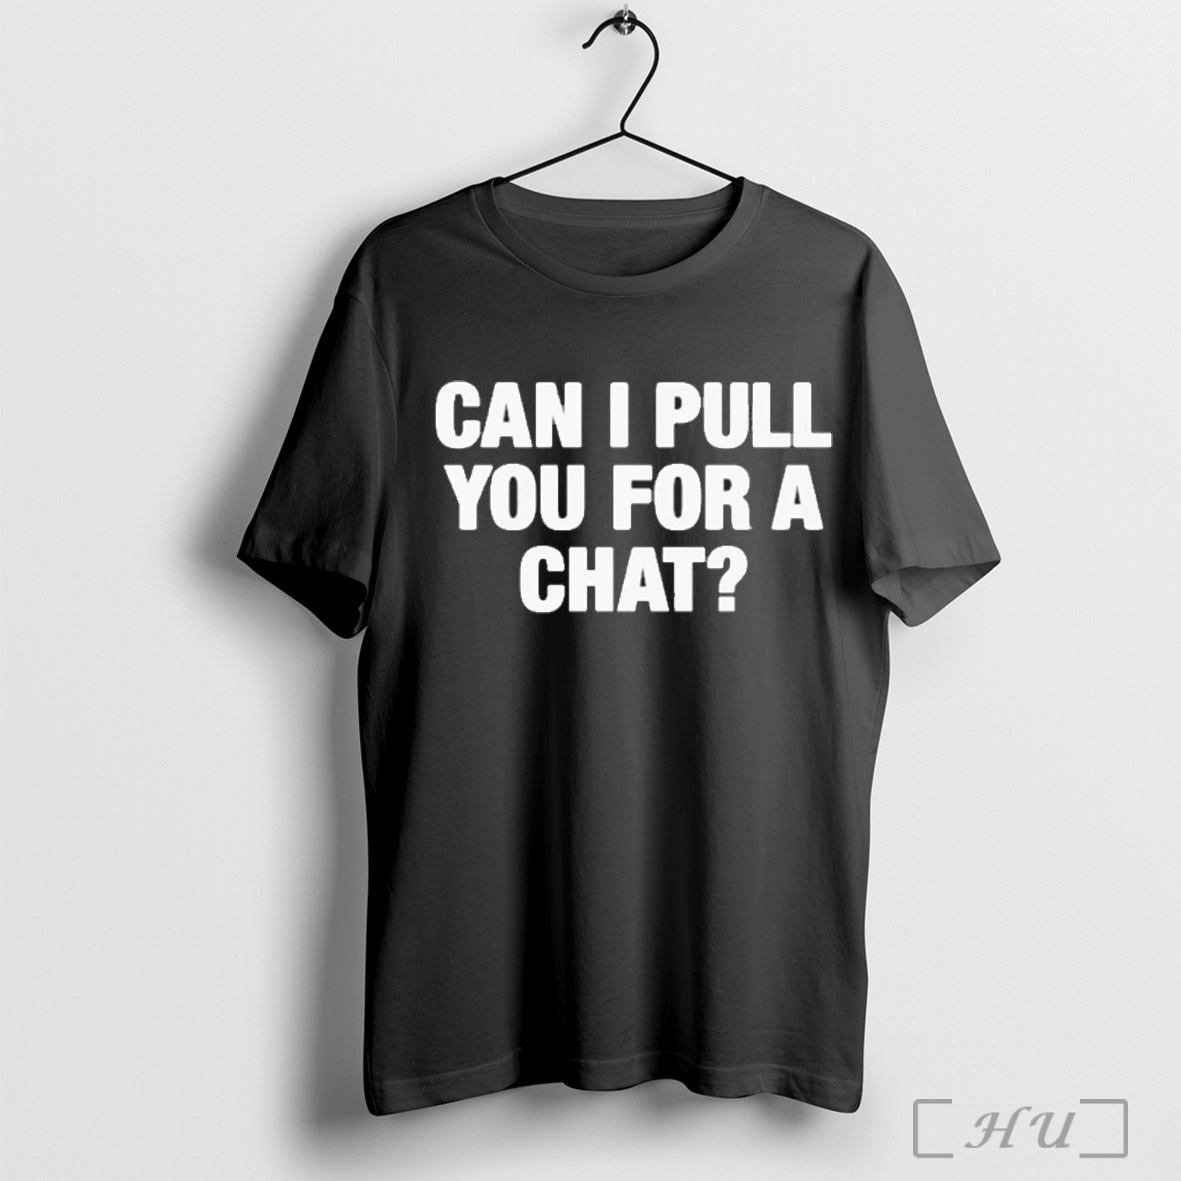
Can I Pull You For A Chat T Shirt Sweatshirt
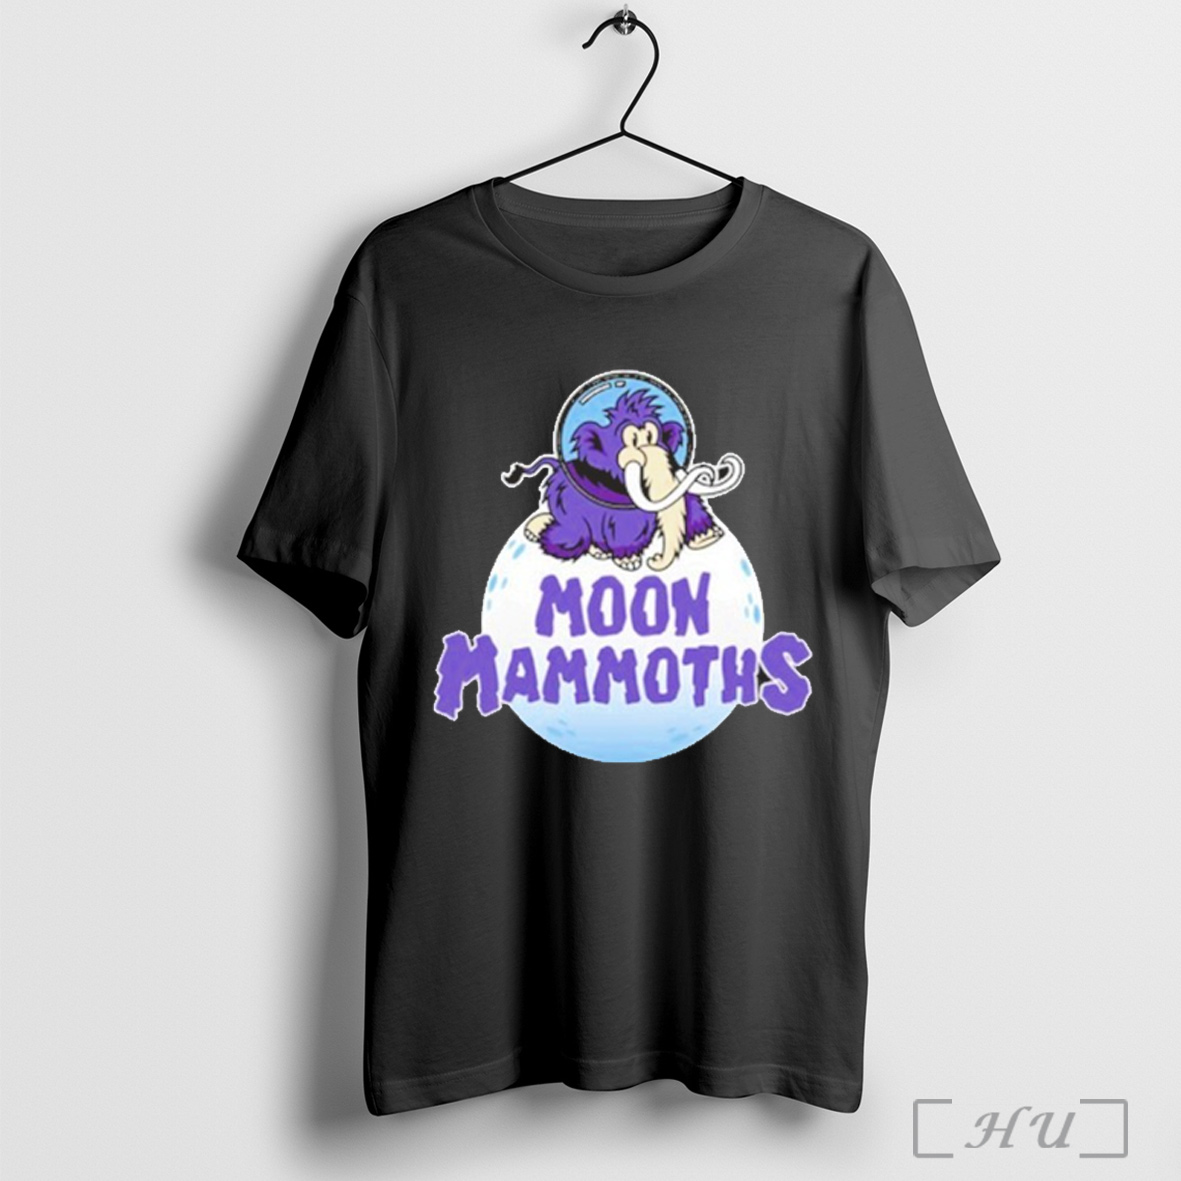
Official Erie Seawolves Br Moon Mammoths T Shirt Sweatshirt
Erie Seawolves Nec Moon Mammoths Logo T Shirt Sweatshirt
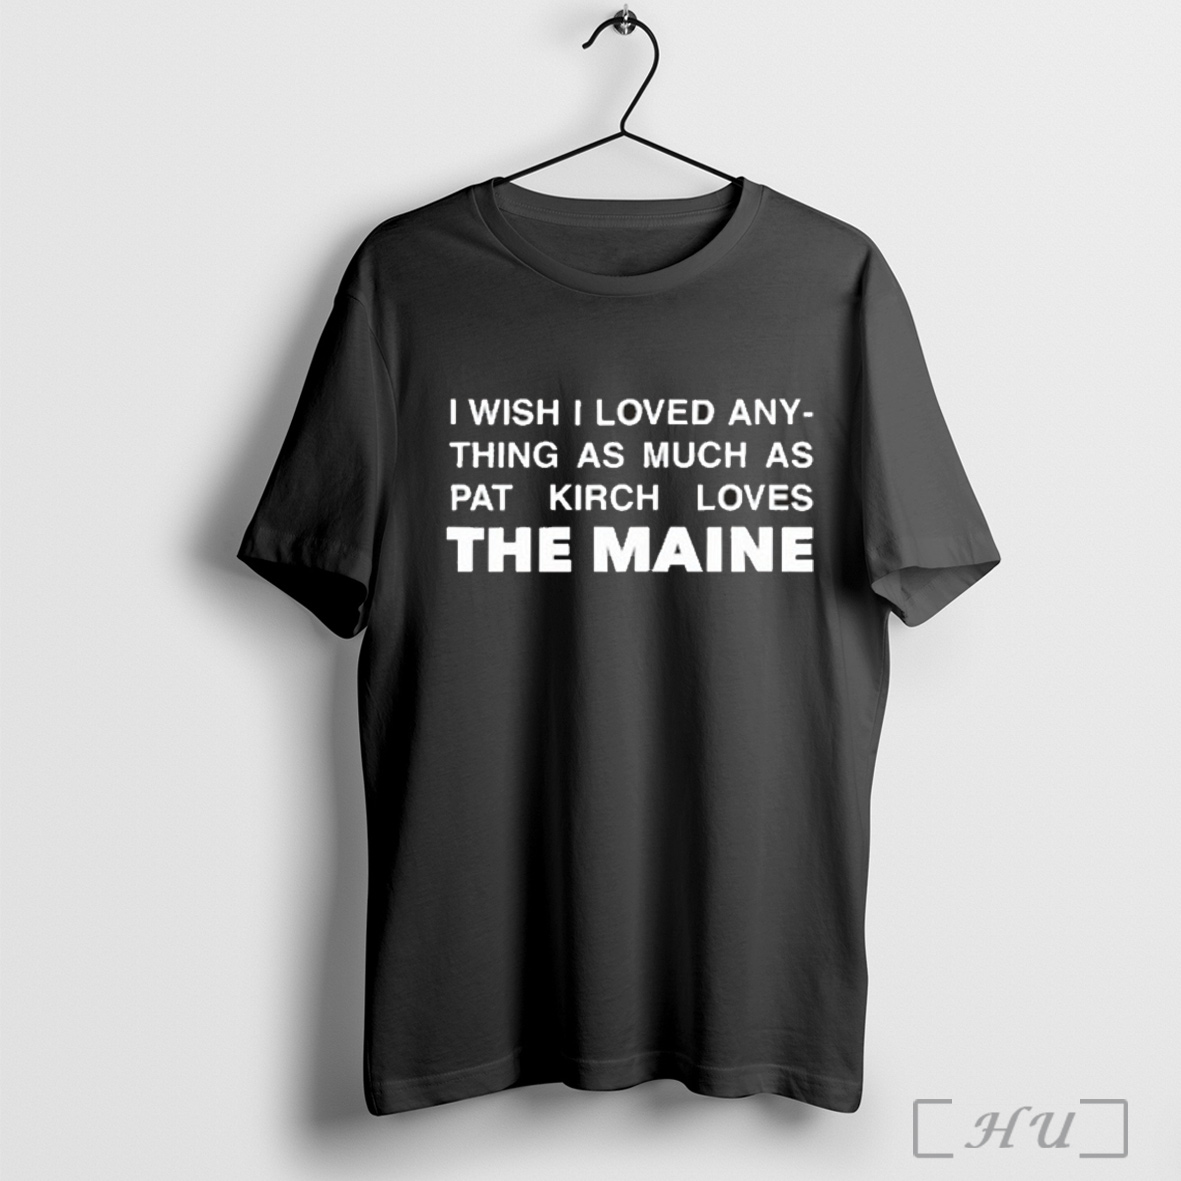
Officials I Wish I Loved Any Thing As Much As Pat Kirch Loves The Maine T Shirt Sweatshirt
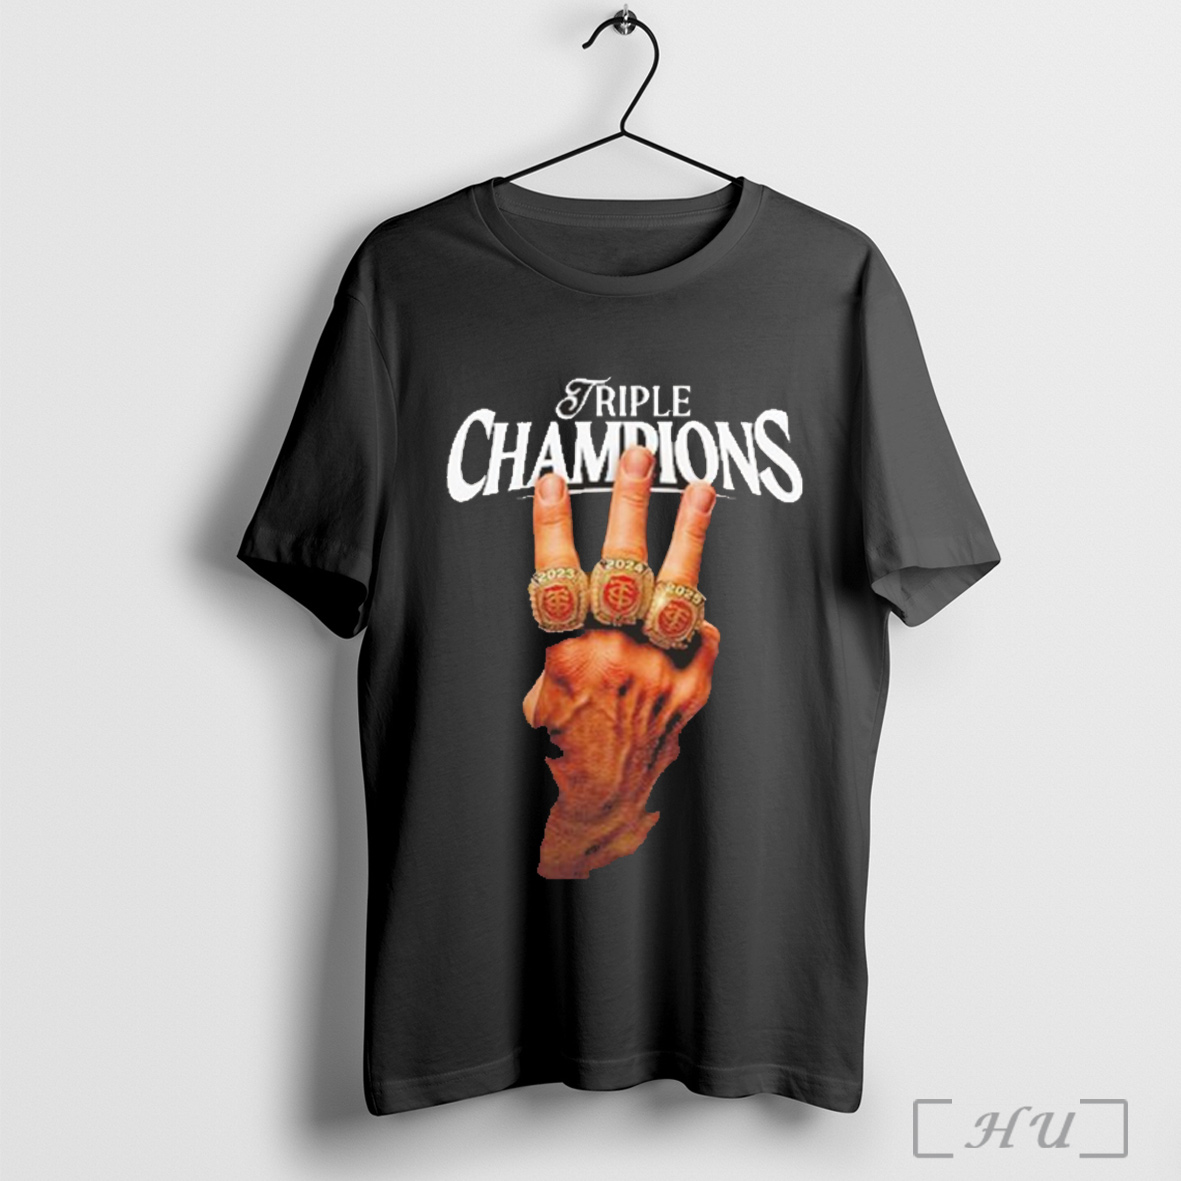
Sweat A Capuche Champions De France 25 T Shirt Sweatshirt
Username or email address *
Password *
Remember me Log in
Lost your password?