DIY Birthday Shirts: A Last-Minute Mom’s Guide with DTF Transfers
Hey everyone, it’s your girl from @diyholic! You know me, always juggling a million things, but never wanting to skimp on the special moments. Case in point: my family’s birthdays. This year, I was *totally* swamped, and the thought of buying individual birthday shirts? Forget about it! That’s when I remembered my trusty DTF transfers. Let me tell you, these things are a lifesaver.
From Chaos to Coordinated: My Birthday Shirt Adventure
So, picture this: it’s the night before the big day, I’m staring at a pile of plain t-shirts, and inspiration strikes. “DIY birthday shirts,” I thought. “Why not?” It sounded daunting, but with DTF transfers, it turned out to be surprisingly simple, even for a busy mom like me. And let me tell you, nothing beats seeing the smiles on their faces when they’re all matching!
The Secret Weapon: DTF Transfers
What *are* DTF transfers, you ask? Direct-to-film transfers are basically designs printed onto a special film that you can then heat press onto fabric. They’re vibrant, durable, and incredibly easy to use. Plus, you can get them with all sorts of designs! Think of it as a high-quality, long-lasting sticker for your clothes.
My Foolproof DTF Transfer Birthday Shirt Method
Here’s the lowdown on how I whipped up these birthday shirts in, like, no time:
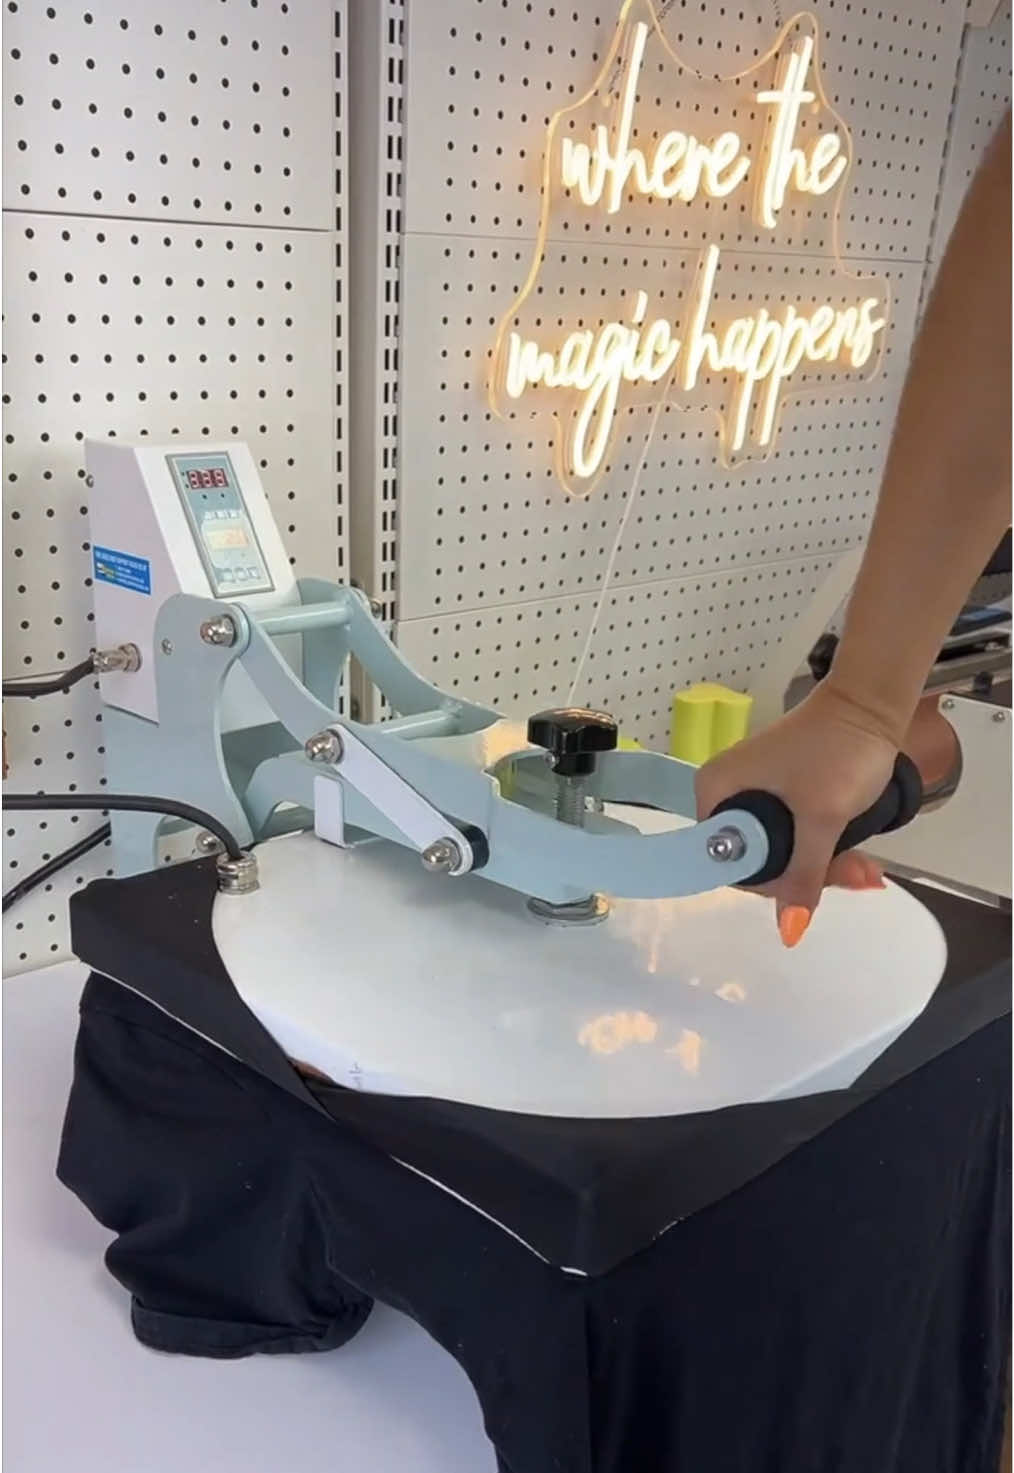
- Prep is Key: I cranked up my Heat Press Nation Craft Pro to 320 degrees Fahrenheit. Trust me, getting the temperature right is half the battle. A cold press will result in disaster!
- Shirt Prep: Give your shirt a quick press to get rid of any wrinkles. A smooth canvas is your friend.
- Alignment is Everything: This is where the T-shirt ruler comes in handy. I fold my transfer in half and align the crease with the ruler to make sure everything is centered. Nobody wants a lopsided design!
- Tape It Down: A few pieces of heat-resistant tape will keep your transfer from shifting during the pressing process. This is super important!
- Let the Magic Happen: 15 seconds under the heat press. Seriously, that’s it!
- Cool Down: This is key. Use a cooling block to speed things up. Patience is a virtue, but who has time for that when you’re on a deadline?
- Peel and Reveal: Gently peel off the transfer. Ahhh, the satisfaction!
- Final Press: One more press for 10 seconds, just to seal the deal.
Why I’m Obsessed with DTF Transfers for Last-Minute Projects
Honestly, DTF transfers have changed the game for me. Here’s why:
- Speed: Seriously, 10 minutes for four shirts? That’s a win in my book. I’m a busy mom, and time is precious.
- Ease of Use: Even a crafting newbie can handle this. No complicated software or messy screens required.
- Customization: You can get virtually any design you want! From family names to funny inside jokes, the possibilities are endless.
- Durability: These transfers hold up wash after wash. No fading or cracking, even after countless cycles. This is where you can find DTF transfers for all your event and tour needs!
Pro Tips for DTF Transfer Success
- Invest in a good heat press. It makes all the difference. Seriously, don’t skimp on this!
- Always follow the manufacturer’s instructions. Each transfer might have slightly different requirements.
- Don’t be afraid to experiment! Try different designs, colors, and shirt types.
- Practice makes perfect. The more you do it, the better you’ll get.
Beyond Birthdays: DTF Transfer Adventures
DTF transfers aren’t just for birthdays. I’ve used them to make custom shirts for:
- Family reunions (gotta keep the family looking unified, you know!)
- Halloween costumes (saves a fortune, and so much more creative!) You can even create a custom Halloween shirt for your family!
- Matching vacation outfits (because why not?)
- Personalized gifts for friends (always a hit!)
Final Thoughts: Embrace the DIY Life (Even When You’re Short on Time)
So, there you have it. My secret to creating awesome birthday shirts (and so much more!) in a flash. DTF transfers are a game-changer for anyone who loves to personalize their clothing. Don’t let a busy schedule stop you from adding a personal touch to your celebrations. Give it a try, and I promise, you’ll be hooked!
Happy crafting, friends!
Watch how I easily created family birthday shirts using DTF transfers.First, I set my heat Press Nation Craft Pro to 320 degrees Fahrenheitfor 15 seconds. After prepping my shirt,I like to fold my transfers in halfand align the crease with the T-shirt rulerto ensure everything is properly aligned.Then I use a few pieces of heat resistant tapeto help keep the transfers in place.Next, I just let my heat press do the rest of the work.I pressed it for 15 secondsand used a cooling block to speed up the cooling processbefore peeling off the transfer.And lastly,I pressed it one more time for 10 seconds at the same temperature.Overall, it took me about 10 minutes to completepressing all of these four shirts,which I thought it was pretty good for being a last minute project.Check out my favorite heat press at heatpressnation com!video