Custom Shirts. Lasting Memories.
Discover a curated collection of trendy, high-quality t-shirts designed to make a statement. Perfect for everyday style or standout looks!

1-2 business days processing

Easy returns & refunds

Easy 24/7 online ordering

Green & non-toxic materials
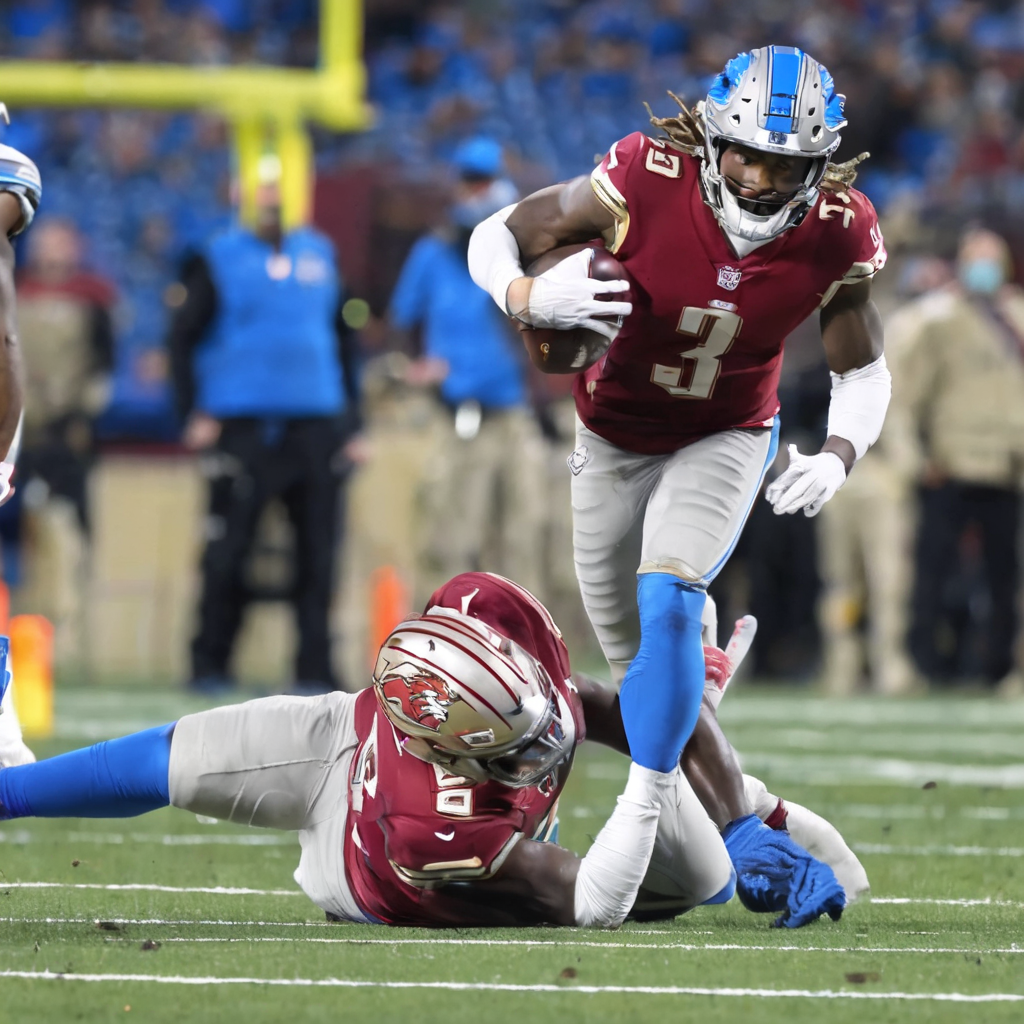
Lions vs. Commanders Week 10: Injury Report, Key Matchups, and Game PredictionThe Detroit Lions are [...]

2025 MLB Gold Glove Awards: Cubs Shine, Top Defensive Players Honored Major League Baseball unveiled [...]
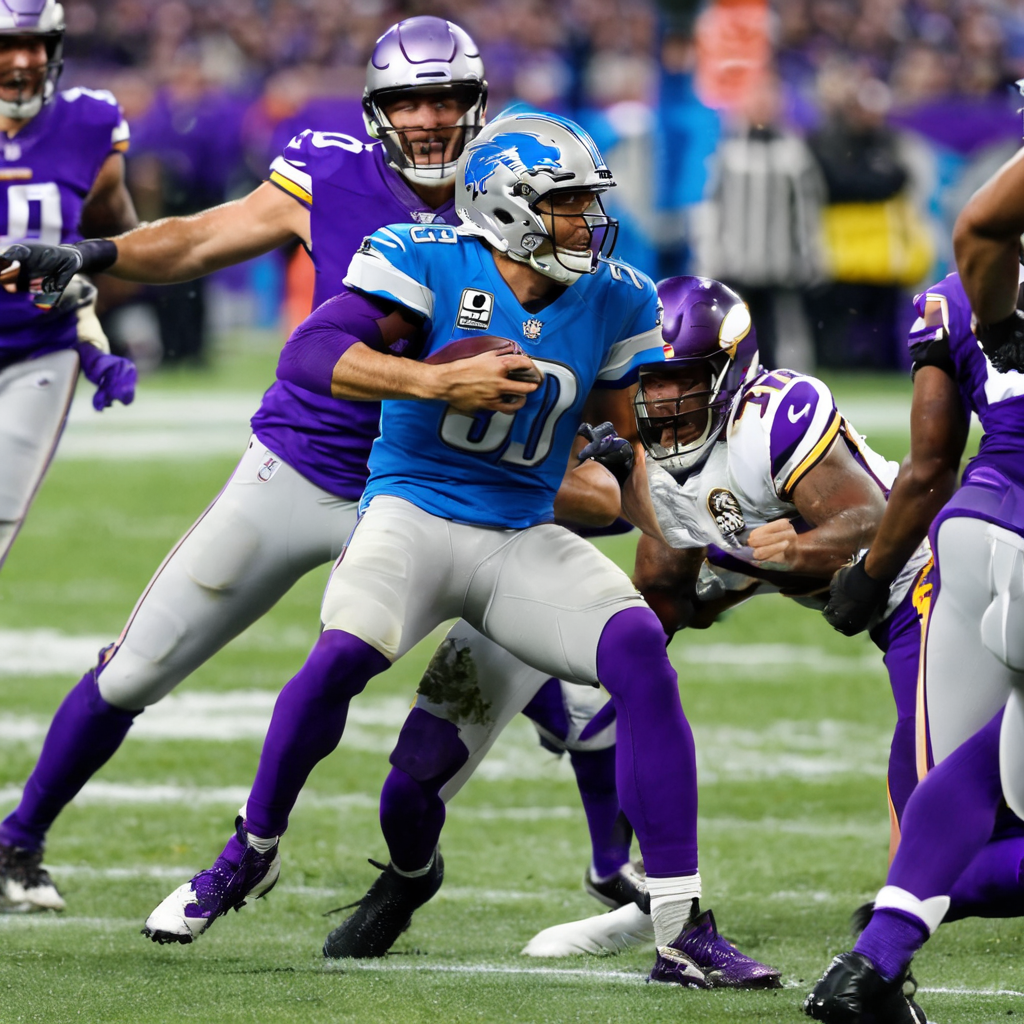
Detroit Lions vs. Minnesota Vikings: Keys to Victory & Week 18 Playoff Implications The Detroit [...]
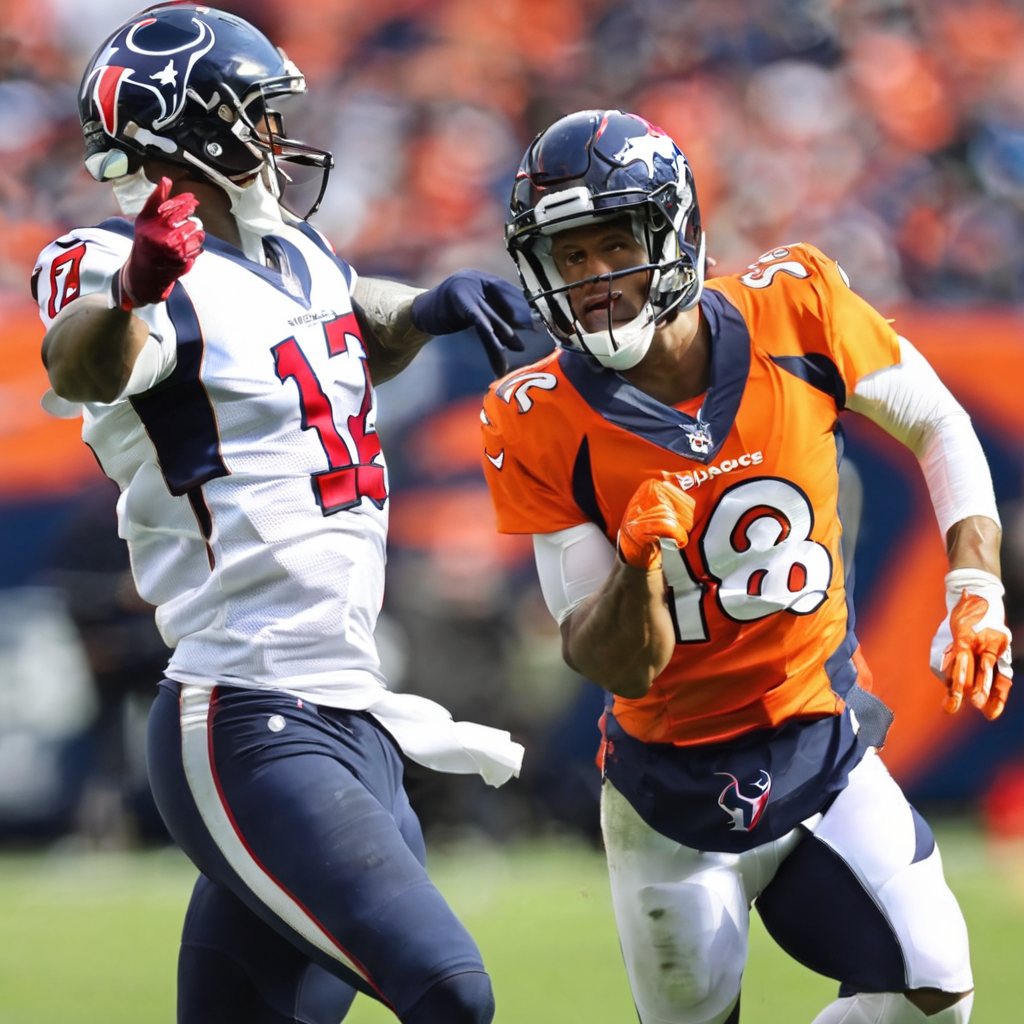
Broncos vs. Texans Week 13: Predictions, Key Matchups, and Fantasy Football Impact Broncos vs. Texans [...]
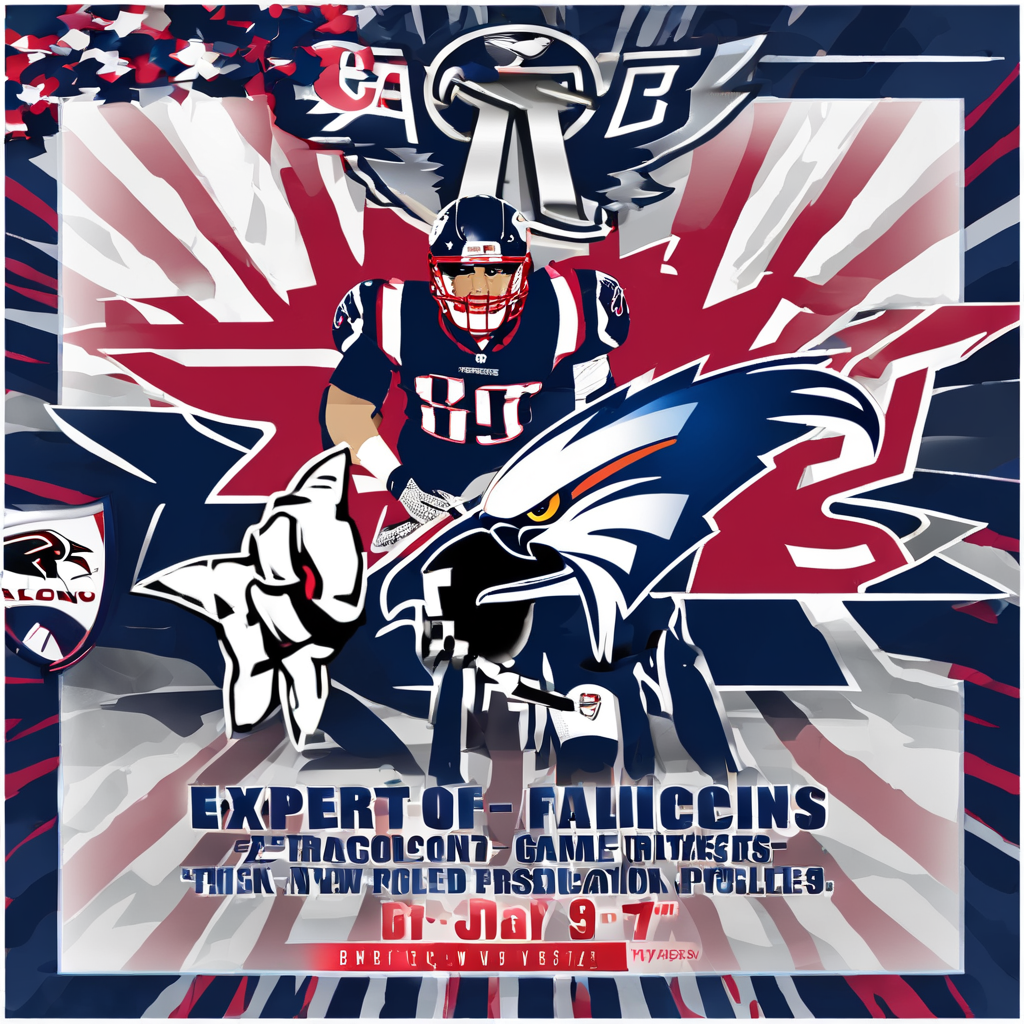
Patriots vs. Falcons Week 9: Expert Predictions and Game Preview – Can New England Soar? [...]

Clayton Kershaw Retirement Rumors Clayton Kershaw Retirement Rumors Swirl After Dodgers’ Playoff Exit: What’s Next [...]
Green Bay Packers quarterback Jordan Love has been named the NFC Offensive Player of the [...]
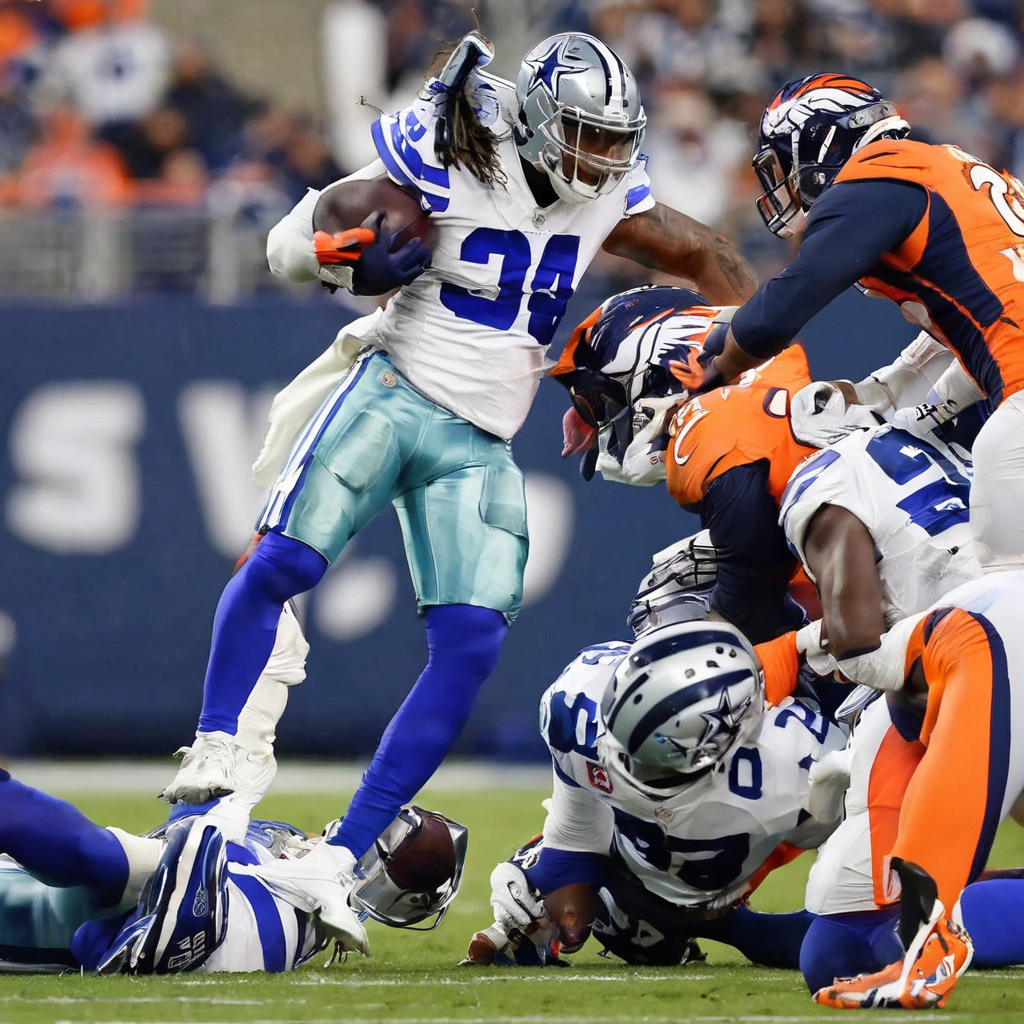
Cowboys Defense in Crisis? Examining the Potential Shakeups After Broncos Debacle The Dallas Cowboys’ defensive [...]